I have a Buffalo TeraStation that I bought in 2006 to store all my big media files. Through the years it has served me well, although with Mac OS X Lion, connectivity to the TeraStation stopped working altogether - mainly due to Lion’s changed AFP connectivity. Usually with hardware of this age, it would be simply replaced; however, I’ve always found Buffalo’s hardware to be of great quality which is a testament to how long it’s lasted. Sadly, installing OpenTera has been on my TODO list for roughly a year now, so this fix is overdue. Buffalo officially responded that there will be a firmware fix for this in the future, but that was over a year ago. This is a quick walkthrough of how I got read/write access back on the TeraStation through Mac OS X Lion. Note: I did the download and firmware updates from my Windows PC, telnet from Mac OS X Lion.
-
Find out the firmware version of your TeraStation. At the time of writing, I have v2.14. Download the corresponding firmware version from this site and install it. This is essentially the same firmware but with telnet enabled. You’ll need telnet enabled to log into the TeraStation to install OpenTera.
-
Download OpenTera Update v5 and Samba 3 from this site. Unzip and move this on the TeraStation where you can later access it. I moved this into my “Share” directory.
-
Telnet into the TeraStation. I believe the default user for the firmware is “myroot”, which you should use to telnet in.
$ telnet 192.168.0.108Trying 192.168.0.108… Connected to 192.168.0.108. Escape character is ‘^]’. Password:Login incorrect
TERASTATION login: myroot root@TERASTATION:~#
-
Change directories into the OpenTera directory, the one you just placed on the TeraStation, and run the
Update_OpenTera.shscript.root@TERASTATION:/# cd mnt/array1/share/OpenTera_v5/ root@TERASTATION:/mnt/array1/share/OpenTera_v5# ./Update_OpenTera.sh
This script is an interactive install, so it will prompt you to say “y” a few times. Go ahead and do so. If all is successful, you should see:
[OpenTera] ============ OpenTera Install Completed ===============
-
Next, change directories into the Samba directory and run the
Update_Samba.shscript.root@TERASTATION:/mnt/array1/share/OpenTera_v5# cd /mnt/array1/share/samba-3.0.37_ppc/ root@TERASTATION:/mnt/array1/share/samba-3.0.37_ppc# ./Update_Samba.sh
When all is completed, you should see:
*********************************************************************
                Completed samba-3.0.37_ppc.tgz install
*********************************************************************
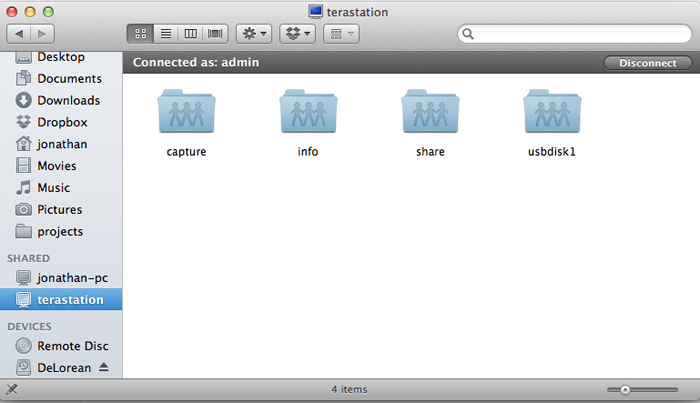
And that’s it! I was able to access the TeraStation from Mac OS X Lion. Hopefully this will be helpful to someone else out there, as I know I’m not the only one with this problem. If I missed any steps, let me know - good luck!